> ## Documentation Index
> Fetch the complete documentation index at: https://docs.numeral.com/llms.txt
> Use this file to discover all available pages before exploring further.
# Acumatica
> Native tax provider plugin for Acumatica ERP 2020 R2 and later.
The Numeral Connector for Acumatica automates sales tax calculation. When an AR Invoice, Sales Order, SO Invoice, or Credit Memo is created or updated, the connector sends the data to Numeral's tax engine, receives the calculated tax, and applies it directly to the Acumatica object. Acumatica automatically calls the plugin to calculate tax on save.
**Key capabilities:**
* **Automatic tax calculation** on AR Invoices, Sales Orders, SO Invoices, and Credit Memos
* **Payment tracking** — when a payment closes an invoice, Numeral is notified so the transaction is recorded
* **Product catalog sync** — inventory items are synced to Numeral for accurate tax classification
***
## Prerequisites
* Acumatica ERP **2020 R2** or later
* Administrator access to the Acumatica instance
* A Numeral account with an API key (available in the Numeral dashboard)
***
## Installation
### Step 1: Begin connection from Numeral dashboard to Acumatica
Start the connection from the Numeral dashboard. This wizard walks you through enabling the required Acumatica feature, installing the Numeral plugin, and generating your API key.
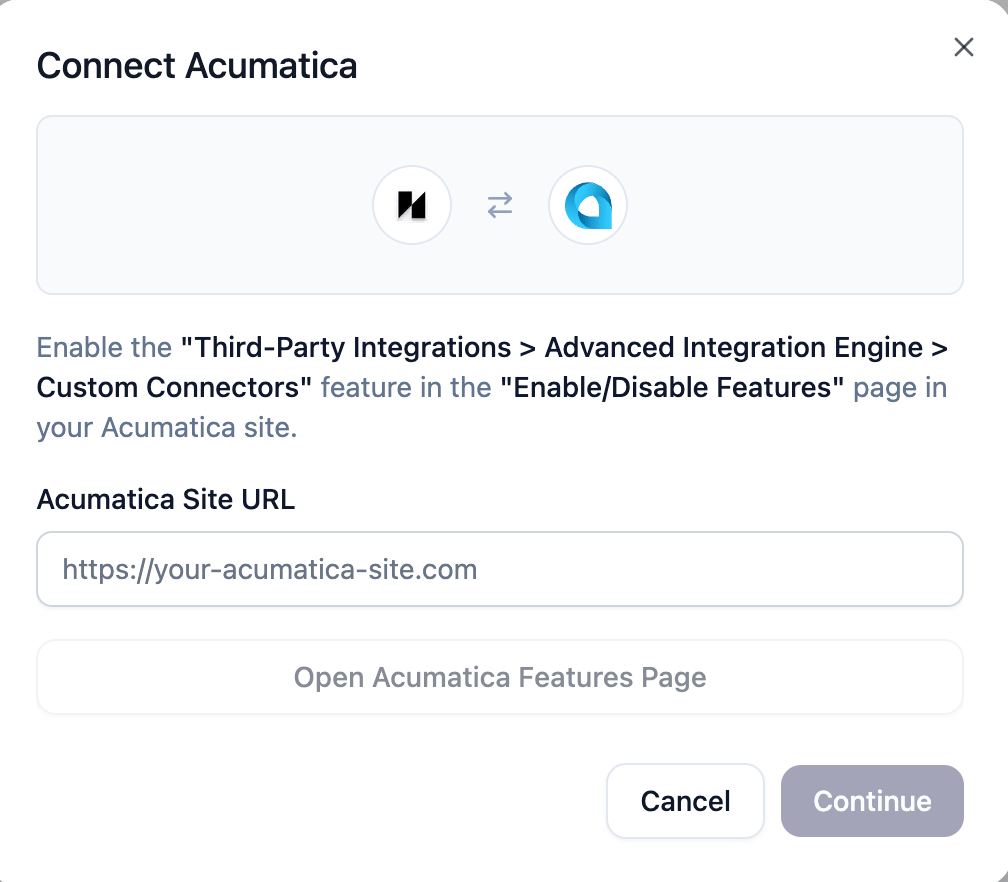
**1a.** In the Numeral dashboard, open the Acumatica connection flow. Enter your **Acumatica Site URL** (e.g. `https://your-site.acumatica.com`). Click **Open Acumatica Features Page** to open the correct page in your Acumatica site, then enable the **"Third-Party Integrations > Advanced Integration Engine > Custom Connectors"** feature under **Enable/Disable Features**. Click **Continue** when done.
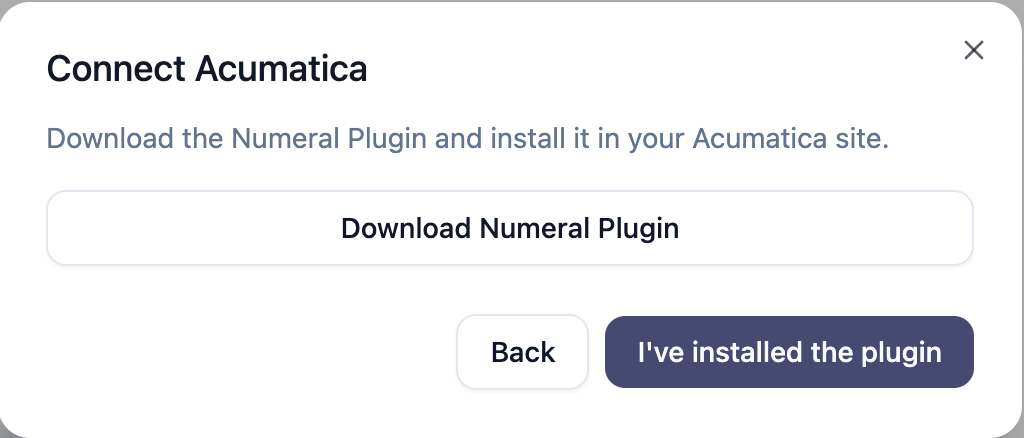
 **1b.** Click **Download Numeral Plugin** to download the plugin package. Install it in your Acumatica site (see Step 2 below for detailed install instructions), then click **I've installed the plugin**.
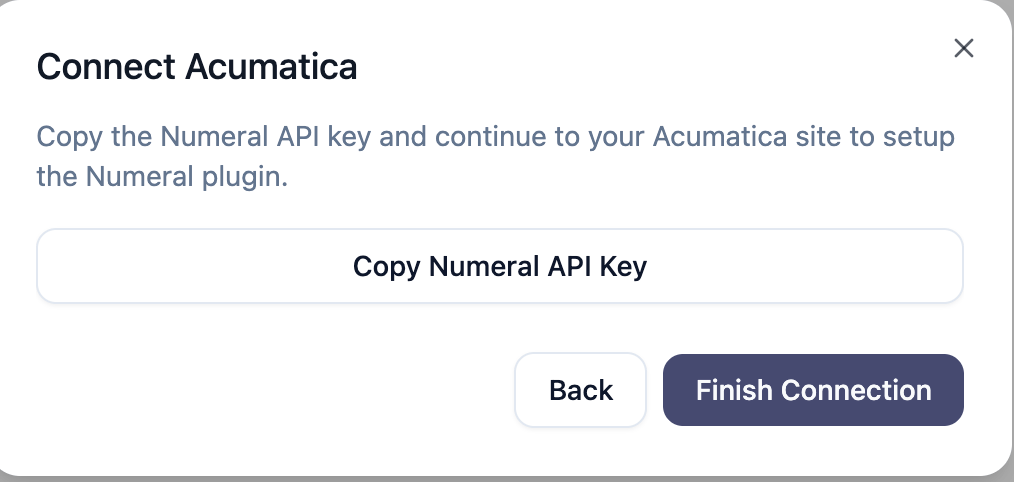
 **1c.** Click **Copy Numeral API Key** to copy your API key — it is prefixed with `acumatica_prod`. Store it somewhere safe; you will need it in Step 3. Click **Finish Connection**.
 ### Step 2: Import and publish the customization package
1. Log in to Acumatica as an administrator
2. Navigate to **Customization Projects** (`SM204505`)
3. Click **Import** and upload `numeral-plugin-{version}.zip`
4. Select the **NumeralConnector** project and click **Publish**
5. Wait for publishing to complete — Acumatica restarts automatically
### Step 3: Configure the tax plugin
1. Navigate to **Tax Providers** (`TX102000`)
2. Enter `NUMERAL` as the Provider ID
3. In the **Plugin Type** field, enter: `NumeralConnector.TaxProvider.NumeralTaxProvider, NumeralConnector`
4. Set the **Default Tax Calculation Mode** to `Net`
5. Go to the **Settings** tab and configure:
* **API URL**: `https://acumatica-integration.numeralhq.com`
* **API Key**: The API key you copied in Step 1 (prefixed with `acumatica_prod`)
* **Sync Products on Test Connection**: Enable to sync inventory items when testing the connection
6. Go to the **Companies** tab and add a row:
* Select your **Branch** from the dropdown
* Enter any value for **Company Code** (e.g. `DEFAULT`) — Numeral identifies clients by API key, not company code, but Acumatica requires this mapping
7. Click **Test Connection** to verify credentials
8. Click **Save**
### Step 4: Create an external tax zone
1. Navigate to **Tax Zones** (`TX206000`)
2. Create a new tax zone (e.g. ID: `NUMERAL`)
3. Check **Is External Tax Provider**
4. Set **Tax Plugin** to `NUMERAL`
5. Set a **Tax Agency ID** vendor (any active vendor marked as a tax agency, or create a new one if one does not exist)
6. Set a **Tax Payable Account** (any active liability account)
7. Click **Save**
### Step 5: Assign the tax zone
Set the `NUMERAL` tax zone on your customers so it's used automatically on new documents:
* **Customer level**: **Customers** (`AR303000`) → Shipping tab → **Default Tax Zone**
* **Branch level** (global fallback): **Branches** (`CS102000`) → **Default Tax Zone**
***
## Configuration Reference
The setup screen (`NM101000`) exposes the following fields:
| Field | Description | Required | Default |
| ------------------------------------ | ------------------------------------------------------ | -------- | --------------------------------------------- |
| **API Key** | Your Numeral API authentication key (stored encrypted) | Yes | — |
| **API URL** | The Numeral API endpoint | Yes | `https://acumatica-integration.numeralhq.com` |
| **Sync Products on Test Connection** | Sync inventory items when testing connection | No | — |
***
## Export Historical Invoices to CSV
On the **Tax Plugins** screen, an **Export Historical Invoices to CSV** action button appears in the row toolbar when the Numeral plugin is selected. Clicking it generates a downloadable `.csv` file containing all released AR invoices (both direct AR invoices and invoices originating from Sales Orders), formatted to Numeral's Standard Manual Line Upload format.
**When to use:** Run this once during initial setup to back-fill Numeral with your transaction history before going live with real-time tax calculation.
## Non-Taxable Line Item Exclusion
The connector handles documents that contain a mix of taxable and non-taxable line items — for example, taxable goods alongside non-taxable packaging or services. Line items with a blank or `EXEMPT` Tax Category ID are excluded from the Numeral API request and automatically assigned \$0 tax. Tax is calculated only against eligible line items, and any rounding remainder is absorbed by the last taxable line.
No configuration is needed — this behavior is automatic.
***
## Troubleshooting
Use the **Test Connection** button to verify your credentials. Confirm the API URL is correct and reachable from the server, and that the server firewall allows outbound HTTPS traffic.
Verify the following all exist:
* `NUMERAL` Tax Zone (`TX206000`)
* `NUMERAL` Tax (`TX205000`)
* `NUMERAL` Tax Category (`TX205500`)
Also ensure at least one active GL Account (preferably a liability account) is set as the Tax Payable Account.
Tax is only recalculated when the invoice balance changes. If the balance hasn't changed, the connector skips processing to avoid duplicate API calls. To force recalculation, modify a line item amount and save again.
Confirm you're on Acumatica 2020 R2 or later. Older builds do not include the tax plugin extensibility points the project depends on.
***
## Tax Exemption Certificates
To request a tax exemption certificate for a customer, navigate to the **Customer Profile** screen in Acumatica. [View demo](https://www.loom.com/share/ccd6c3b3f8574396817b5d948ae518e6)
***
## Uninstallation
1. Navigate to **Customization Projects** (`SM204505`)
2. Select the **NumeralConnector** project
3. Click **Unpublish** to remove the deployed files and site map entry
4. Optionally delete the project from the list
### Step 2: Import and publish the customization package
1. Log in to Acumatica as an administrator
2. Navigate to **Customization Projects** (`SM204505`)
3. Click **Import** and upload `numeral-plugin-{version}.zip`
4. Select the **NumeralConnector** project and click **Publish**
5. Wait for publishing to complete — Acumatica restarts automatically
### Step 3: Configure the tax plugin
1. Navigate to **Tax Providers** (`TX102000`)
2. Enter `NUMERAL` as the Provider ID
3. In the **Plugin Type** field, enter: `NumeralConnector.TaxProvider.NumeralTaxProvider, NumeralConnector`
4. Set the **Default Tax Calculation Mode** to `Net`
5. Go to the **Settings** tab and configure:
* **API URL**: `https://acumatica-integration.numeralhq.com`
* **API Key**: The API key you copied in Step 1 (prefixed with `acumatica_prod`)
* **Sync Products on Test Connection**: Enable to sync inventory items when testing the connection
6. Go to the **Companies** tab and add a row:
* Select your **Branch** from the dropdown
* Enter any value for **Company Code** (e.g. `DEFAULT`) — Numeral identifies clients by API key, not company code, but Acumatica requires this mapping
7. Click **Test Connection** to verify credentials
8. Click **Save**
### Step 4: Create an external tax zone
1. Navigate to **Tax Zones** (`TX206000`)
2. Create a new tax zone (e.g. ID: `NUMERAL`)
3. Check **Is External Tax Provider**
4. Set **Tax Plugin** to `NUMERAL`
5. Set a **Tax Agency ID** vendor (any active vendor marked as a tax agency, or create a new one if one does not exist)
6. Set a **Tax Payable Account** (any active liability account)
7. Click **Save**
### Step 5: Assign the tax zone
Set the `NUMERAL` tax zone on your customers so it's used automatically on new documents:
* **Customer level**: **Customers** (`AR303000`) → Shipping tab → **Default Tax Zone**
* **Branch level** (global fallback): **Branches** (`CS102000`) → **Default Tax Zone**
***
## Configuration Reference
The setup screen (`NM101000`) exposes the following fields:
| Field | Description | Required | Default |
| ------------------------------------ | ------------------------------------------------------ | -------- | --------------------------------------------- |
| **API Key** | Your Numeral API authentication key (stored encrypted) | Yes | — |
| **API URL** | The Numeral API endpoint | Yes | `https://acumatica-integration.numeralhq.com` |
| **Sync Products on Test Connection** | Sync inventory items when testing connection | No | — |
***
## Export Historical Invoices to CSV
On the **Tax Plugins** screen, an **Export Historical Invoices to CSV** action button appears in the row toolbar when the Numeral plugin is selected. Clicking it generates a downloadable `.csv` file containing all released AR invoices (both direct AR invoices and invoices originating from Sales Orders), formatted to Numeral's Standard Manual Line Upload format.
**When to use:** Run this once during initial setup to back-fill Numeral with your transaction history before going live with real-time tax calculation.
## Non-Taxable Line Item Exclusion
The connector handles documents that contain a mix of taxable and non-taxable line items — for example, taxable goods alongside non-taxable packaging or services. Line items with a blank or `EXEMPT` Tax Category ID are excluded from the Numeral API request and automatically assigned \$0 tax. Tax is calculated only against eligible line items, and any rounding remainder is absorbed by the last taxable line.
No configuration is needed — this behavior is automatic.
***
## Troubleshooting
Use the **Test Connection** button to verify your credentials. Confirm the API URL is correct and reachable from the server, and that the server firewall allows outbound HTTPS traffic.
Verify the following all exist:
* `NUMERAL` Tax Zone (`TX206000`)
* `NUMERAL` Tax (`TX205000`)
* `NUMERAL` Tax Category (`TX205500`)
Also ensure at least one active GL Account (preferably a liability account) is set as the Tax Payable Account.
Tax is only recalculated when the invoice balance changes. If the balance hasn't changed, the connector skips processing to avoid duplicate API calls. To force recalculation, modify a line item amount and save again.
Confirm you're on Acumatica 2020 R2 or later. Older builds do not include the tax plugin extensibility points the project depends on.
***
## Tax Exemption Certificates
To request a tax exemption certificate for a customer, navigate to the **Customer Profile** screen in Acumatica. [View demo](https://www.loom.com/share/ccd6c3b3f8574396817b5d948ae518e6)
***
## Uninstallation
1. Navigate to **Customization Projects** (`SM204505`)
2. Select the **NumeralConnector** project
3. Click **Unpublish** to remove the deployed files and site map entry
4. Optionally delete the project from the list