> ## Documentation Index
> Fetch the complete documentation index at: https://docs.numeral.com/llms.txt
> Use this file to discover all available pages before exploring further.
# Using Numeral's Tax Engine on Stripe Invoices
> Connect Stripe Invoicing to Numeral and apply accurate sales tax to your invoices.
This guide walks through connecting Stripe Invoicing to Numeral and ensuring accurate sales tax is applied to your invoices.
If you send invoices to clients via Stripe Invoicing, you can use Numeral's tax engine to apply accurate sales tax rates in the appropriate jurisdictions for your business.
***
## Getting Started
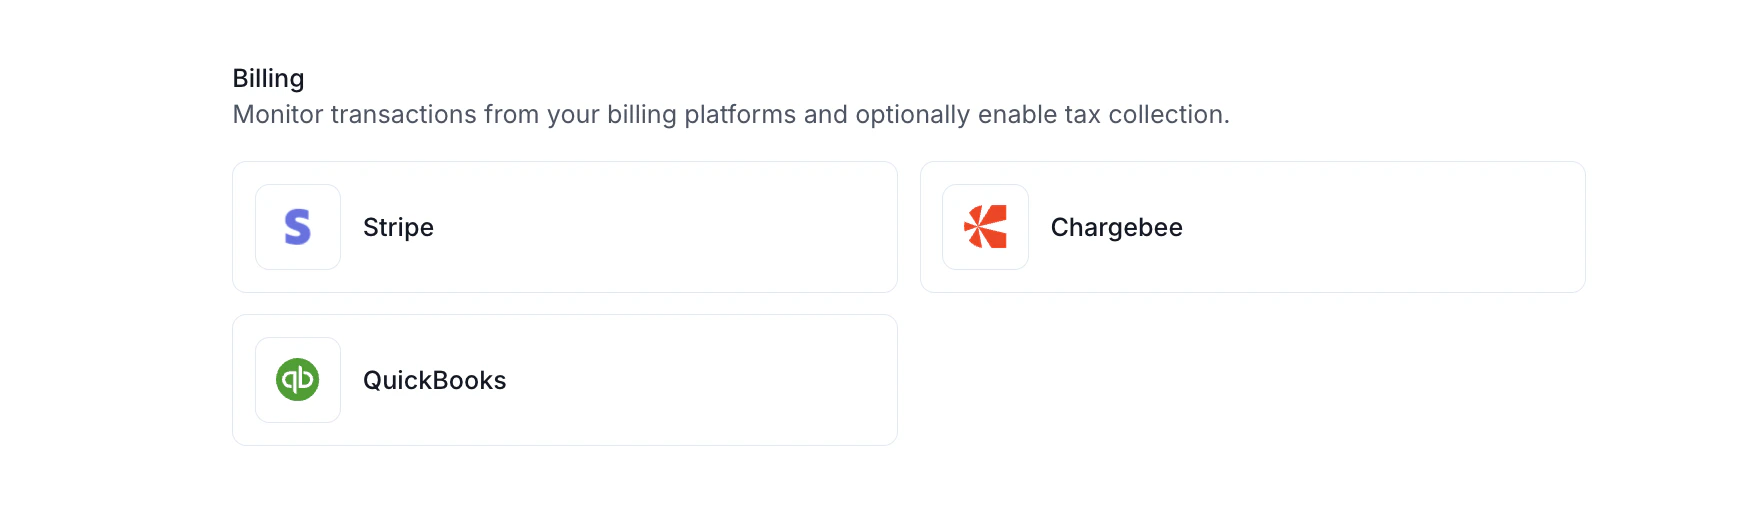
1. Connect your Stripe account to your Numeral dashboard — in your Numeral dashboard, click **Connections** on the left-hand menu, then select **Stripe**.
 2. You will be prompted to add the Numeral app to your Stripe account. Once installed, click **continue to app settings** — Stripe will present you with API keys. Copy these keys and enter them into Numeral.
 If you cannot see your entire restricted key, click **roll key** on Stripe, then **roll API key**. Stripe will require a verification process. Once verified, your full restricted key will be visible.
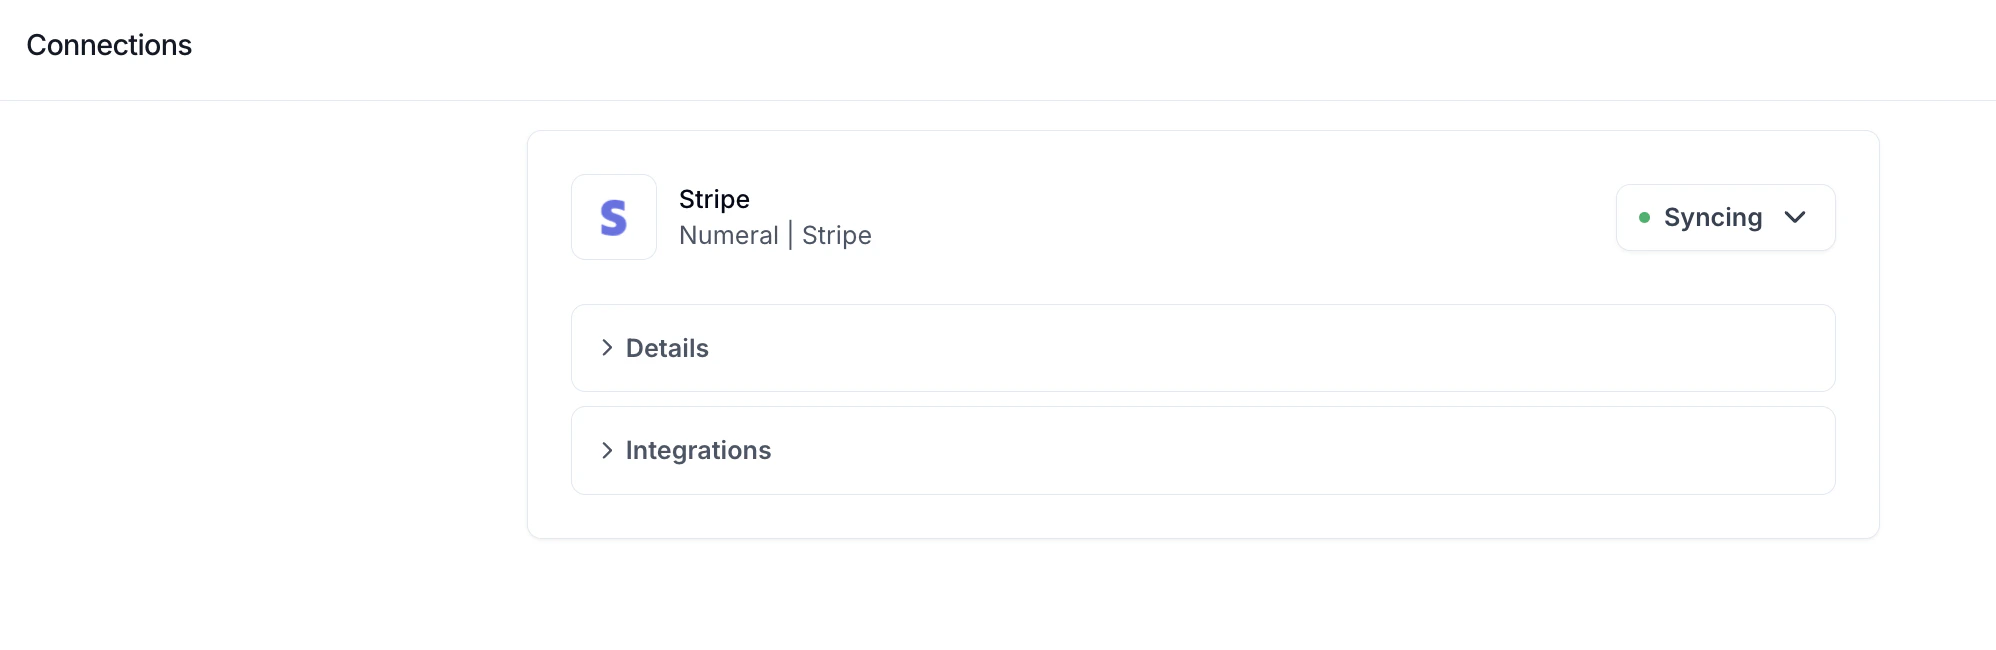
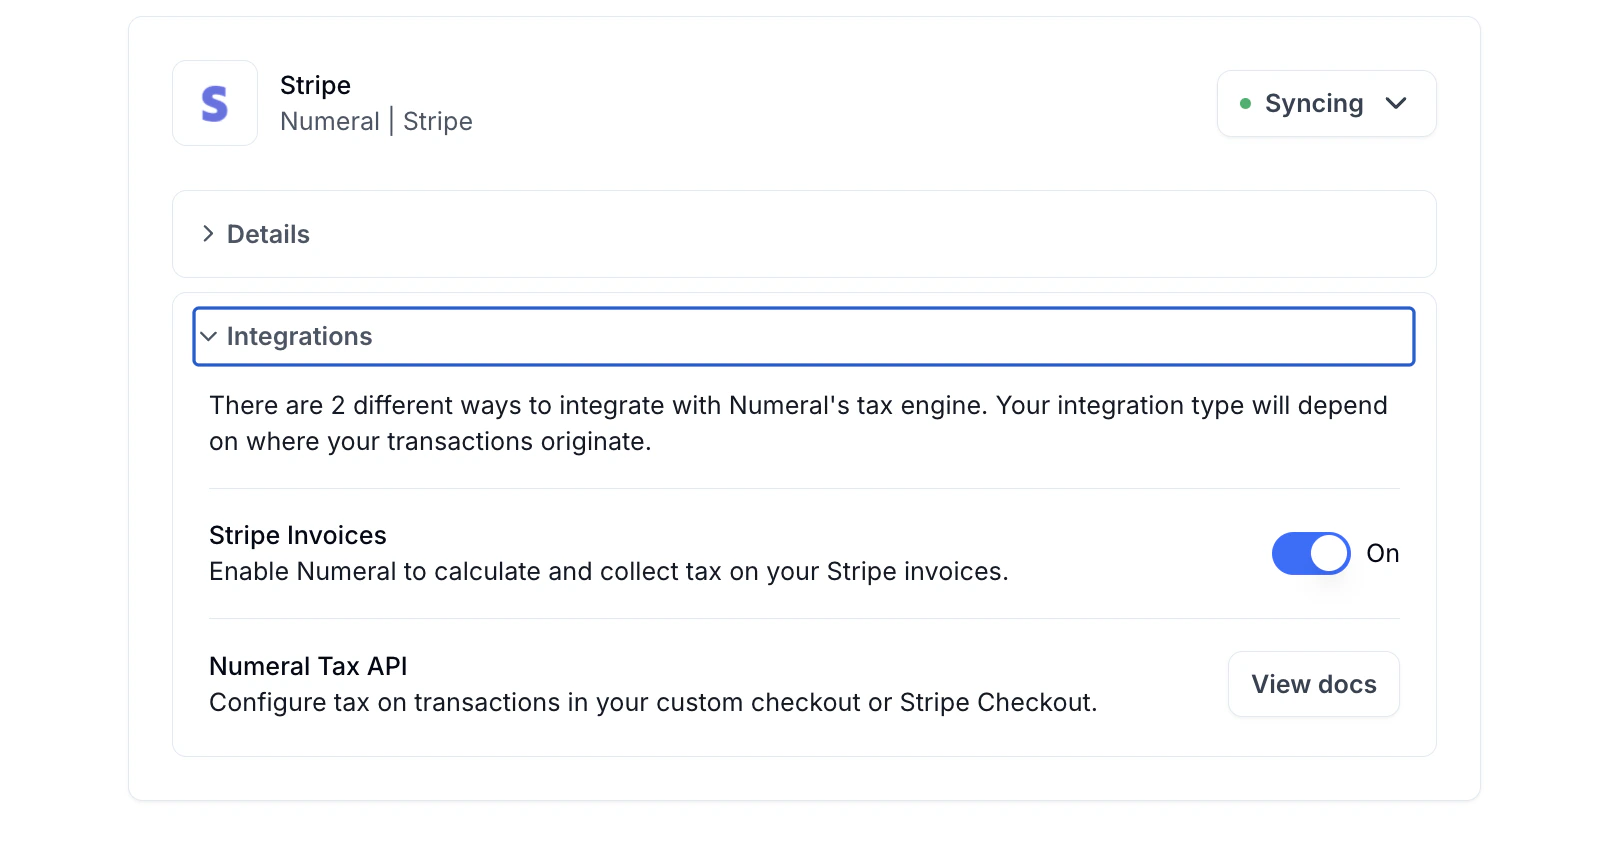
3. Once completed, you will see a dedicated **Stripe** section on your **Connections** page in Numeral. Status should show **syncing** with a green dot.
If you cannot see your entire restricted key, click **roll key** on Stripe, then **roll API key**. Stripe will require a verification process. Once verified, your full restricted key will be visible.
3. Once completed, you will see a dedicated **Stripe** section on your **Connections** page in Numeral. Status should show **syncing** with a green dot.
 ***
## Timeline Considerations
If you are already using Stripe to apply tax rates to invoices, work with your Onboarding Manager to confirm your go-live date with Numeral.
For example, if Numeral is taking over your existing sales tax registrations starting in August, meet with your Onboarding Manager on August 1 to turn off Stripe's automatic tax calculator and turn on Numeral's tax engine.
If your start date with Numeral is August 1, the tax engine will not attempt to collect before this date. Numeral only attempts to collect tax in states where your company has a sales tax registration.
To confirm your start dates and registered states, navigate to the [Jurisdictions tab](https://dashboard.numeralhq.com/jurisdictions) in your Numeral account.
***
## Updating and Confirming Configurations
During your go-live call, your Onboarding Manager will confirm that:
* Stripe's automatic tax calculations are turned off
* Numeral's tax engine is enabled
* Stripe's tax behavior is set to **exclusive**
You can also check these settings yourself at any time:
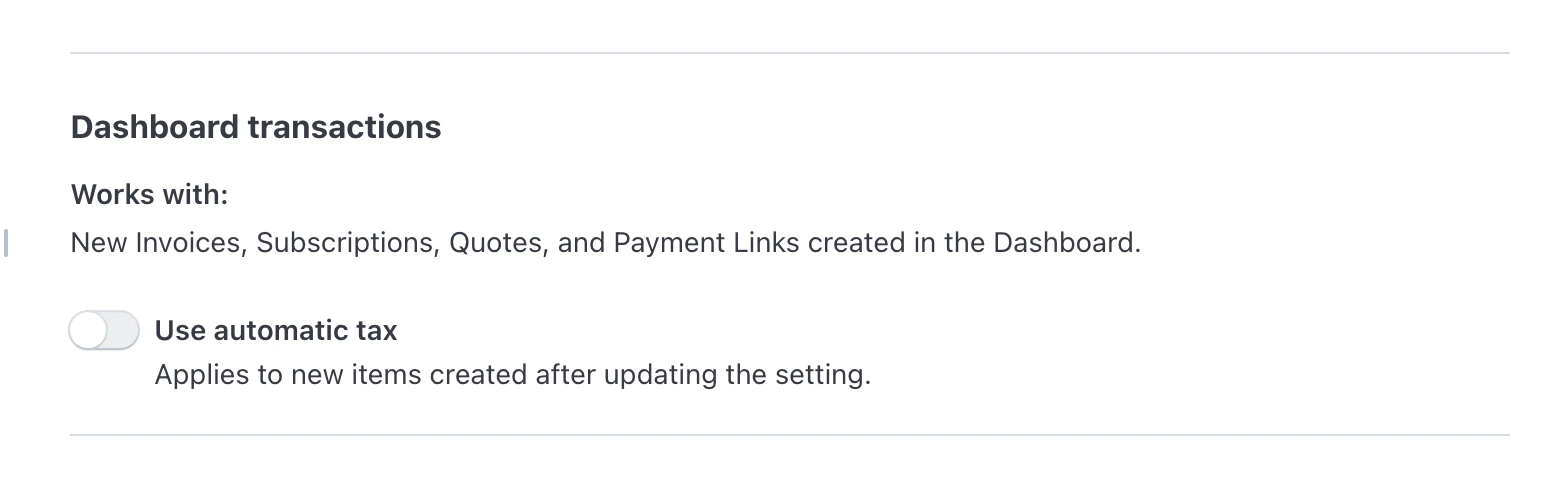
Log in to your Stripe account and go to [**Tax Settings**](https://dashboard.stripe.com/settings/tax) > **Integrations** > toggle off **Use automatic tax** under **Dashboard Transactions**.
***
## Timeline Considerations
If you are already using Stripe to apply tax rates to invoices, work with your Onboarding Manager to confirm your go-live date with Numeral.
For example, if Numeral is taking over your existing sales tax registrations starting in August, meet with your Onboarding Manager on August 1 to turn off Stripe's automatic tax calculator and turn on Numeral's tax engine.
If your start date with Numeral is August 1, the tax engine will not attempt to collect before this date. Numeral only attempts to collect tax in states where your company has a sales tax registration.
To confirm your start dates and registered states, navigate to the [Jurisdictions tab](https://dashboard.numeralhq.com/jurisdictions) in your Numeral account.
***
## Updating and Confirming Configurations
During your go-live call, your Onboarding Manager will confirm that:
* Stripe's automatic tax calculations are turned off
* Numeral's tax engine is enabled
* Stripe's tax behavior is set to **exclusive**
You can also check these settings yourself at any time:
Log in to your Stripe account and go to [**Tax Settings**](https://dashboard.stripe.com/settings/tax) > **Integrations** > toggle off **Use automatic tax** under **Dashboard Transactions**.
 Go to **Connections** > **Stripe**, then open the **Integrations** dropdown within the Stripe section. You'll see a row for **Stripe Invoices** — this should be toggled on.
 To ensure taxes are calculated correctly, your default tax behavior should be set to **exclusive** in Stripe. With exclusive tax, sales tax is added on top of the product price — for example, if a product is listed at $5.00 and the tax rate is 10%, the customer pays $5.50 at checkout.
If your products are set to **inclusive tax**, the correct tax cannot be applied.
See [Stripe's step-by-step instructions](https://docs.stripe.com/tax/products-prices-tax-codes-tax-behavior#setting-a-default-tax-behavior-\(recommended\)) for updating this setting.
***
## Product Categorization
Correct product categorization is essential for accurate tax calculation. Product categories set in **Stripe** do **not** carry over to **Numeral** — categories must be set up directly within your Numeral account.
During onboarding, your Onboarding Manager will help set up initial product categories in Numeral and show you how to manage them going forward. Numeral's tax engine uses these categories to determine the correct taxability for each product.
Have a copy of Numeral's [Product Category List](https://numeralhq.mintlify.app/essentials/product-categories) available for reference when editing or creating products.
### Edit an Existing Product
1. Go to **Developers → Products**.
2. Click the **Edit** icon next to the product you want to update.
3. Search for and select the correct **Product Category**.
4. Save your changes.
### Add a New Product
1. Navigate to **Developers → Products → Create Product**.
2. Enter the **Product ID** (this should match the Product ID in your sales platform).
3. Add the **Product Name**.
4. Select or type the appropriate **Product Category**.
5. Click **Create Product** to save.
If you onboarded with Numeral before product categorization was available, the **Developers** tab may not appear in your dashboard. Contact our team using the messaging widget in your dashboard, and we'll enable this feature for your account.
***
## Creating an Invoice within Stripe
### Customers
* If your customer is not located in a state where you have an active registration set within Numeral, sales tax will not be applied.
* If your client has both a shipping and billing address, tax will default to the shipping address.
* If your client has a billing address but no shipping address, tax will be applied based on the billing address.
If a customer should be exempt from sales tax, mark them as exempt in Stripe:
1. In your Stripe account, go to **Customers** from the left-hand navigation.
2. Select the customer's name.
3. On the right side, click the **pencil icon** next to **Details**.
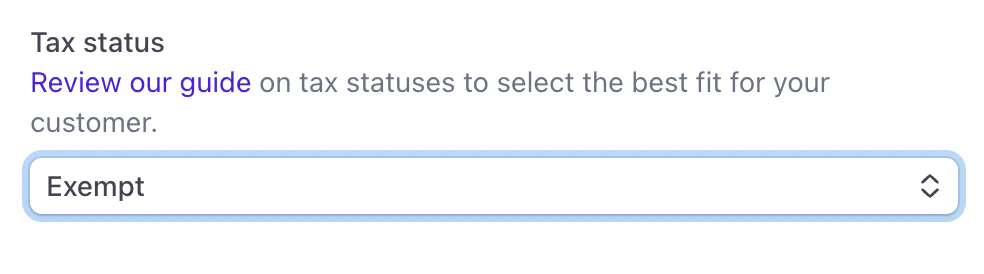
4. Scroll down to **Tax Status** and mark the customer as **Exempt**.
To ensure taxes are calculated correctly, your default tax behavior should be set to **exclusive** in Stripe. With exclusive tax, sales tax is added on top of the product price — for example, if a product is listed at $5.00 and the tax rate is 10%, the customer pays $5.50 at checkout.
If your products are set to **inclusive tax**, the correct tax cannot be applied.
See [Stripe's step-by-step instructions](https://docs.stripe.com/tax/products-prices-tax-codes-tax-behavior#setting-a-default-tax-behavior-\(recommended\)) for updating this setting.
***
## Product Categorization
Correct product categorization is essential for accurate tax calculation. Product categories set in **Stripe** do **not** carry over to **Numeral** — categories must be set up directly within your Numeral account.
During onboarding, your Onboarding Manager will help set up initial product categories in Numeral and show you how to manage them going forward. Numeral's tax engine uses these categories to determine the correct taxability for each product.
Have a copy of Numeral's [Product Category List](https://numeralhq.mintlify.app/essentials/product-categories) available for reference when editing or creating products.
### Edit an Existing Product
1. Go to **Developers → Products**.
2. Click the **Edit** icon next to the product you want to update.
3. Search for and select the correct **Product Category**.
4. Save your changes.
### Add a New Product
1. Navigate to **Developers → Products → Create Product**.
2. Enter the **Product ID** (this should match the Product ID in your sales platform).
3. Add the **Product Name**.
4. Select or type the appropriate **Product Category**.
5. Click **Create Product** to save.
If you onboarded with Numeral before product categorization was available, the **Developers** tab may not appear in your dashboard. Contact our team using the messaging widget in your dashboard, and we'll enable this feature for your account.
***
## Creating an Invoice within Stripe
### Customers
* If your customer is not located in a state where you have an active registration set within Numeral, sales tax will not be applied.
* If your client has both a shipping and billing address, tax will default to the shipping address.
* If your client has a billing address but no shipping address, tax will be applied based on the billing address.
If a customer should be exempt from sales tax, mark them as exempt in Stripe:
1. In your Stripe account, go to **Customers** from the left-hand navigation.
2. Select the customer's name.
3. On the right side, click the **pencil icon** next to **Details**.
4. Scroll down to **Tax Status** and mark the customer as **Exempt**.
 ### Items
When adding items, Numeral will only apply a tax rate if the item's product category is taxable within your customer's jurisdiction. Confirm product categories with your Numeral Onboarding Manager — product categories within Stripe do not apply.
### Tax Rates
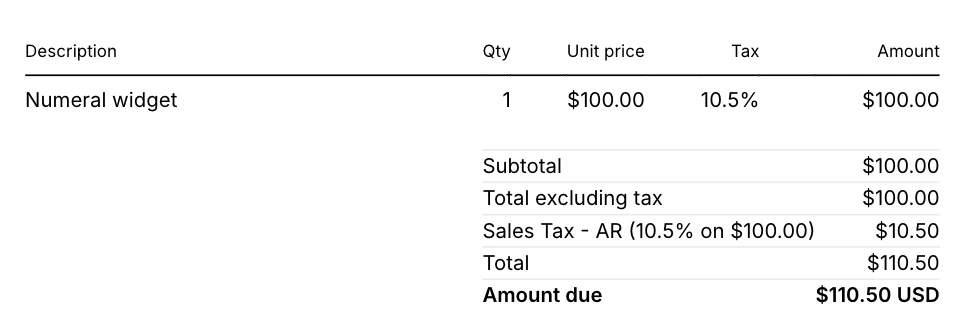
Numeral adds tax via webhook: when you save a draft invoice, Numeral receives a notification from Stripe, checks whether the customer is in a registered jurisdiction, and writes the correct tax rates back to the invoice. Stripe only allows invoices to be modified while they are in draft — once finalized, they can't be changed. **You must leave the invoice as a draft until Numeral has applied tax.**
To add tax to your invoices using Numeral's Tax Engine in Stripe:
1. Add your **customer** and **item** information.
2. Save the invoice as a **draft** — do not finalize it yet.
3. Wait a few seconds for Numeral to apply tax (allow up to five minutes), then refresh your browser.
4. If any items are taxable, Numeral will have automatically added a **tax line** to the invoice preview.
5. Once the tax line appears, you can finalize and send the invoice.
### Items
When adding items, Numeral will only apply a tax rate if the item's product category is taxable within your customer's jurisdiction. Confirm product categories with your Numeral Onboarding Manager — product categories within Stripe do not apply.
### Tax Rates
Numeral adds tax via webhook: when you save a draft invoice, Numeral receives a notification from Stripe, checks whether the customer is in a registered jurisdiction, and writes the correct tax rates back to the invoice. Stripe only allows invoices to be modified while they are in draft — once finalized, they can't be changed. **You must leave the invoice as a draft until Numeral has applied tax.**
To add tax to your invoices using Numeral's Tax Engine in Stripe:
1. Add your **customer** and **item** information.
2. Save the invoice as a **draft** — do not finalize it yet.
3. Wait a few seconds for Numeral to apply tax (allow up to five minutes), then refresh your browser.
4. If any items are taxable, Numeral will have automatically added a **tax line** to the invoice preview.
5. Once the tax line appears, you can finalize and send the invoice.
 **Don't finalize an invoice before Numeral has applied tax.**
If you finalize the invoice immediately after saving, it becomes immutable and Numeral can no longer add tax rates. Always wait for the tax line to appear before finalizing.
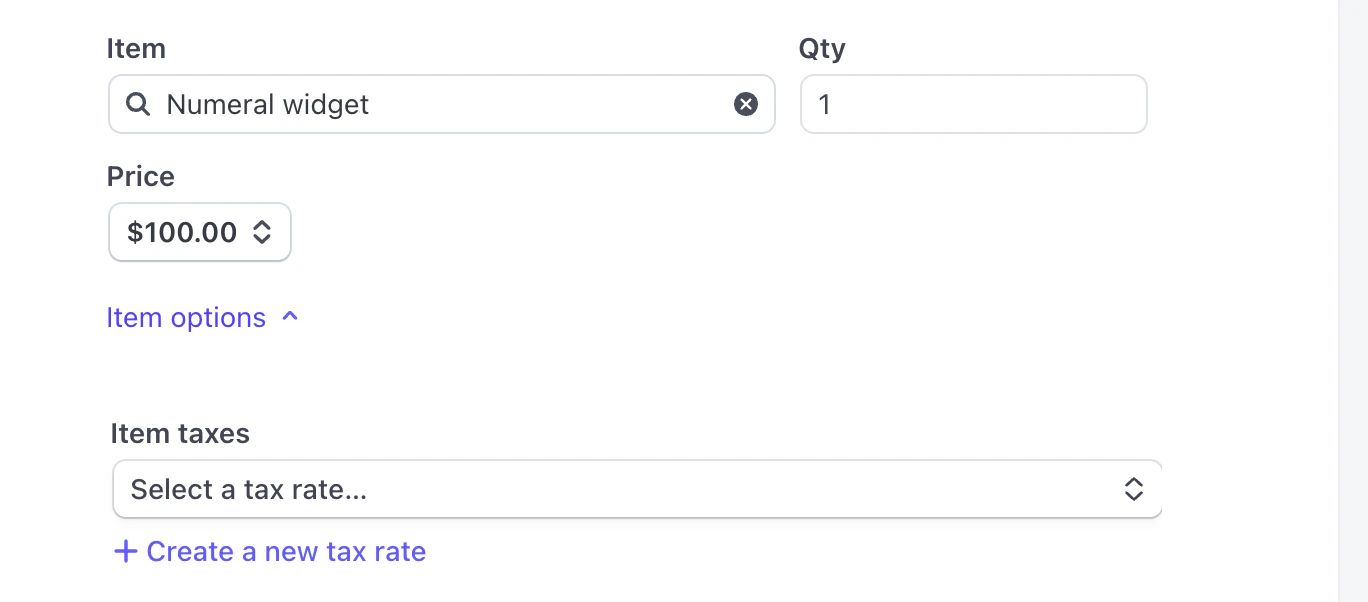
**Don't add a tax rate when Stripe prompts you after generating an invoice.**
With Stripe's automatic tax collection turned off, you may see a prompt to select a tax rate on the invoice. Skip this step — Numeral will automatically apply the correct tax rate for any taxable items.
**Don't finalize an invoice before Numeral has applied tax.**
If you finalize the invoice immediately after saving, it becomes immutable and Numeral can no longer add tax rates. Always wait for the tax line to appear before finalizing.
**Don't add a tax rate when Stripe prompts you after generating an invoice.**
With Stripe's automatic tax collection turned off, you may see a prompt to select a tax rate on the invoice. Skip this step — Numeral will automatically apply the correct tax rate for any taxable items.